How to Use Proxy: Proxy4U + GeeLark Integration Guide
I'm Proxy4U, and in this walkthrough I explain exactly how to use proxy to disguise and protect your cloud phones inside GeeLark (the first anti-detect phone on Windows). If you want a fast start, sign up here: https://prml.ink/Proxy4u — then follow the steps below to connect your Proxy4U proxies to GeeLark and run multiple mobile accounts safely.

Why GeeLark + Proxies Matter
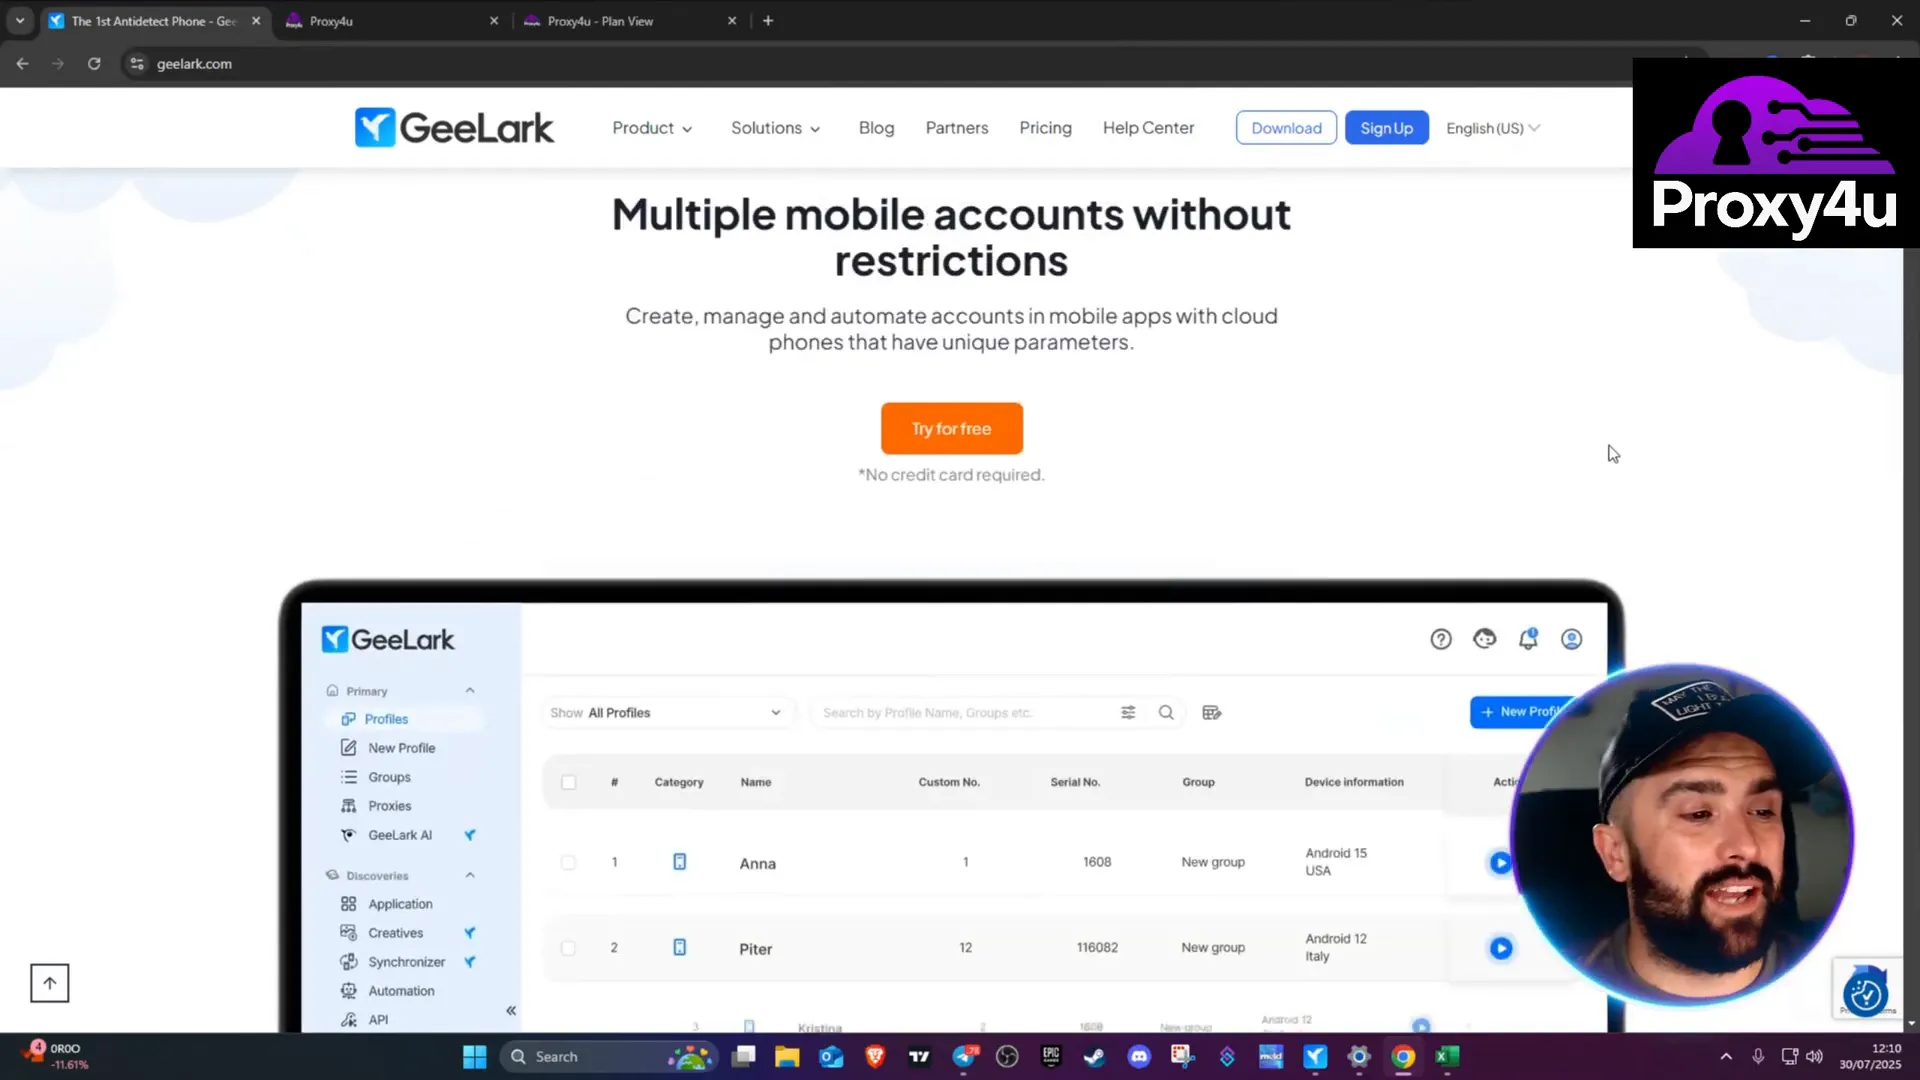
GeeLark lets you run multiple mobile accounts on your PC using cloud phones with unique parameters — Instagram, TikTok, Facebook and more — without linking them to your real device. The missing piece that keeps your accounts clean and undetected is a reliable proxy. Knowing how to use proxy correctly means you can present your cloud phone as if it's running in another country, rotate IPs automatically, and avoid fingerprints that trigger bans or security checks.
Why I Recommend Proxy4U
I've tested many providers and Proxy4U stands out for ease of use, flexible pricing, and a free trial that lets you confirm performance before committing. They offer residential, data center, and mobile proxies with pay-as-you-go plans (residential from about $2.50, data center $1.50, mobile $3.50) and straightforward dashboards for creating targeted sessions. Try Proxy4U here: https://prml.ink/Proxy4u
Step-by-step: How to Use Proxy with GeeLark
- Create the proxy in Proxy4U
- Log into your Proxy4U dashboard and choose the proxy type (residential is a good default).
- Under "default targeting" pick a country (for example: Brazil).
- Enable sticky mode and set the sticky rotation to 25 minutes so the IP rotates every 25 minutes within the chosen country. Sticky rotation reduces sudden identity shifts while still rotating frequently for safety.
- Copy the correct connection block
- Scroll to the bottom of the Proxy4U configuration page and copy the full authentication block provided there. Important: copy the bottom authentication block — not the top summary — since it contains the usable username/password/endpoint string that GeeLark needs.
- Add the proxy into GeeLark
- Open GeeLark and go to Profiles → Proxies → Add Proxy.
- Set IP query location to ip2location and Type to HTTP.
- Give the proxy a group name (e.g., "proxy new") and paste the entire block you copied from Proxy4U into the input field. GeeLark will automatically parse and add multiple proxies if present.
- Verify the proxy
- Highlight the new proxies you just added (the ones matching your chosen country) and click "Check proxy".
- A green status indicates a successful check. GeeLark will show the IP location (for example: São Paulo, Brazil) and confirm the proxy is reachable.
- Create or update your GeeLark profile to use the proxy
- Go to New Profile (or edit an existing profile). Give it a name and set it to "ungrouped" if you want custom settings, then choose Custom for proxy handling.
- Click Save → All proxy groups → select the proxy group you created (e.g., "proxy new"), then assign the specific proxy entry (Brazil) on the right-hand side.
- Click "Check proxy" from the profile editor to confirm the profile will launch with the assigned proxy. If successful, GeeLark shows "successful proxy info" and the country/region returned by the IP.
Quick Tips & Common Mistakes
- Do not copy the top summary block from Proxy4U — always copy the bottom authentication block that contains the usable credentials.
- Use sticky sessions (25 minutes recommended) so your IP rotates regularly without radically changing fingerprints between operations.
- Set IP query to ip2location and choose HTTP type in GeeLark for best compatibility.
- Pick residential proxies for long-term account work, mobile proxies for the highest device similarity, and data center for cost-efficient mass tasks.
Client Testimonial
"Switching to Proxy4U and integrating with GeeLark was a game-changer. I needed stable residential proxies that rotate within a single country and the sticky sessions solved my IP fingerprint issues. Setup was painless — copy the bottom block, paste into GeeLark, check proxy — and I was running multi-account automation securely. Highly recommend Proxy4U for anyone learning how to use proxy professionally." — Satisfied user
Wrapping up
Learning how to use proxy correctly is the difference between frequent flagging and a clean multi-account workflow. The recipe is simple: create targeted proxies on Proxy4U, enable sticky rotation (I use 25 minutes), copy the bottom authentication block, paste into GeeLark (IP query = ip2location, Type = HTTP), then add that proxy to your GeeLark profile and verify.
If you want to get started quickly, sign up and test Proxy4U here: https://prml.ink/Proxy4u. If you need more advanced routing or a specific country set up, Proxy4U’s dashboard and support can help you dial it in precisely. Final note — treat proxies responsibly and respect platform policies when running automated or multiple-account workflows.
To get started now: https://prml.ink/Proxy4u
Join Proxy4U Now! |
|
🌐 Unlock the internet securely and fast, join Proxy4U today! 🚀🔒 |
| Join Now |


